OZZY!Before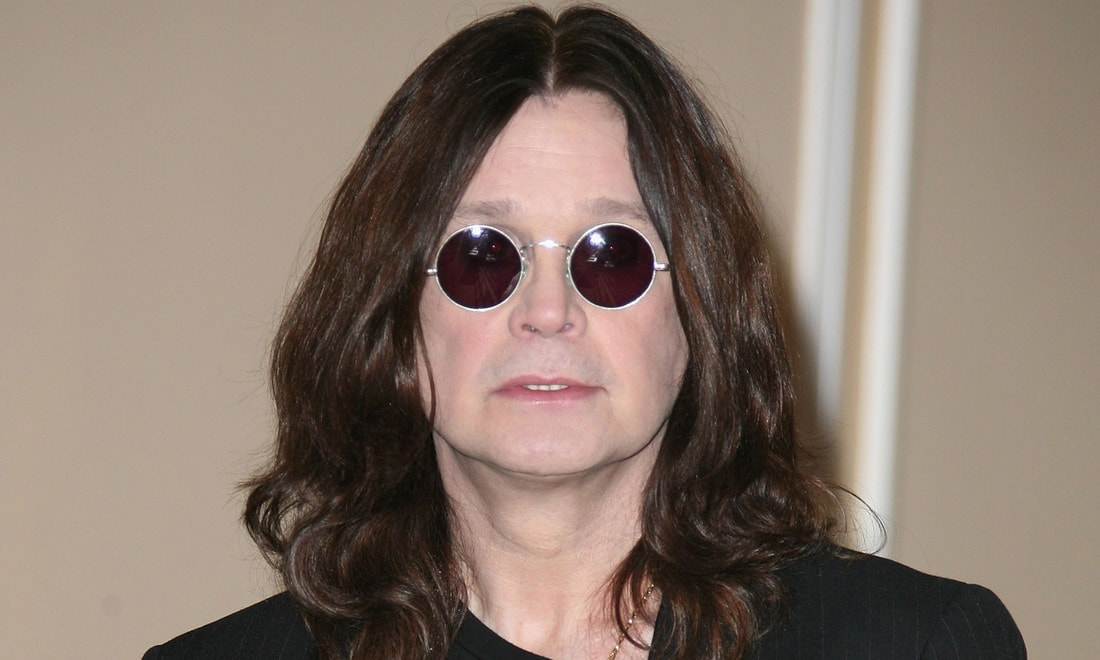
|
After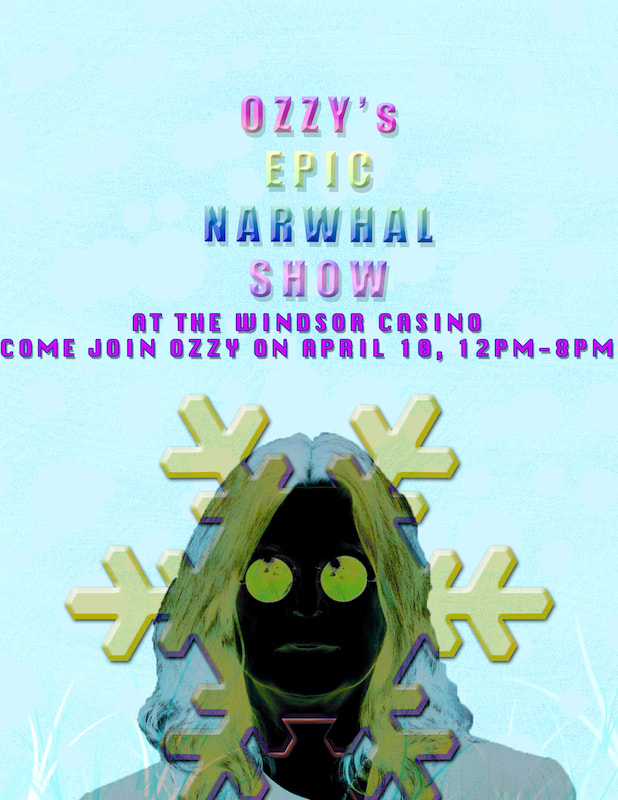
|
We took the original Ozzy photo and turned it into a poster for a show. First off we made Ozzy a png meaning the photo has a transparent background, then we placed the png onto a blue background. Next we used blend modes on the photo with the Difference setting. Then we chose a shape, I had choosen a snowflake and we made it the complementary colour of blue, which is orange. Next we added blue bubbles to the background along with some pale blue grass. For the text I made it have that pop out feeling with the showdown background behind the letters. Finally I made the name of the show with a rainbow gradient and left the information in just magenta colouring.
RYAAAAAAAAAANNN!!!BEFORE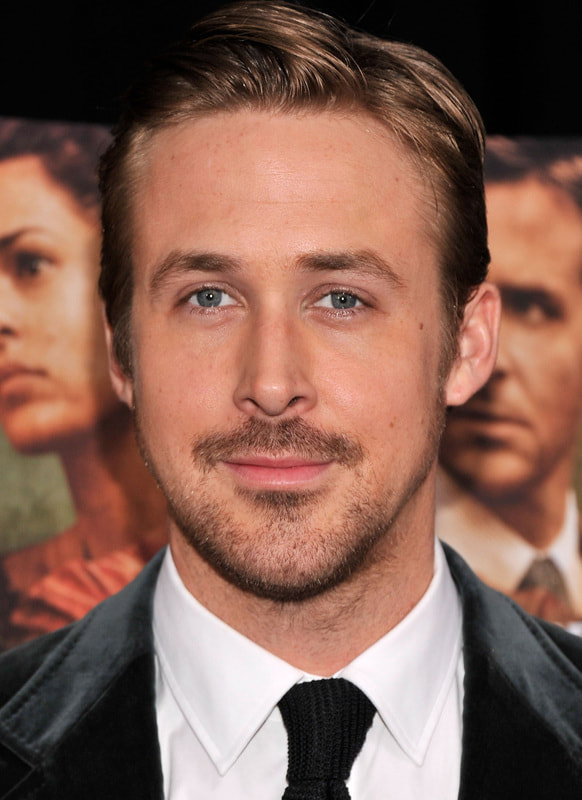
|
AFTER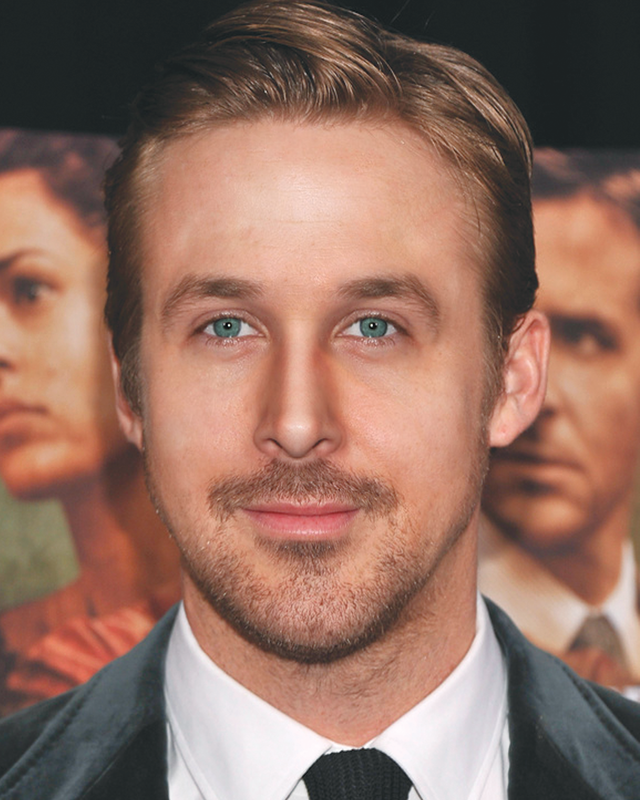
|
PRINT ADS
|
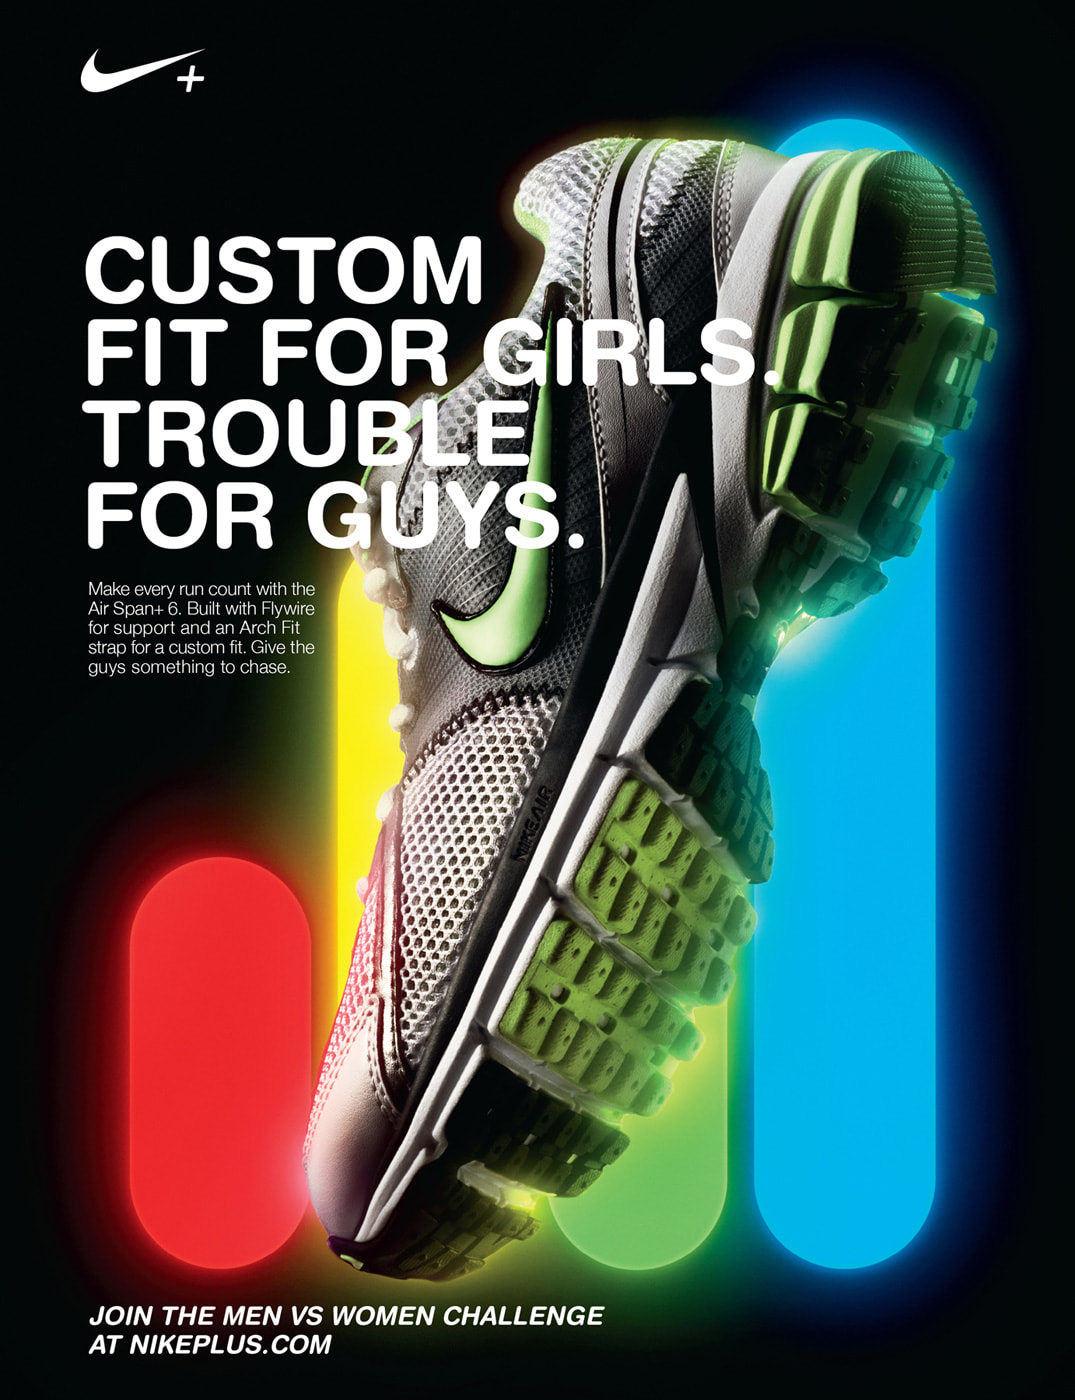
I chose this photo because I was drawn to the neon colours and the little town on the shoe, forming roads and tall buildings. I was inspited by the ad because of the use of an image rather than words, after all a photo is worth a thousand words. It also sparked my interest because of the lighting relfection on the floor. I think the designer used a variety of different tools to make it look this amazing, because the person probley only started with a shoe picture and went from there, transforming the shoe into what inspired me and a buch of other viewers.
|

|
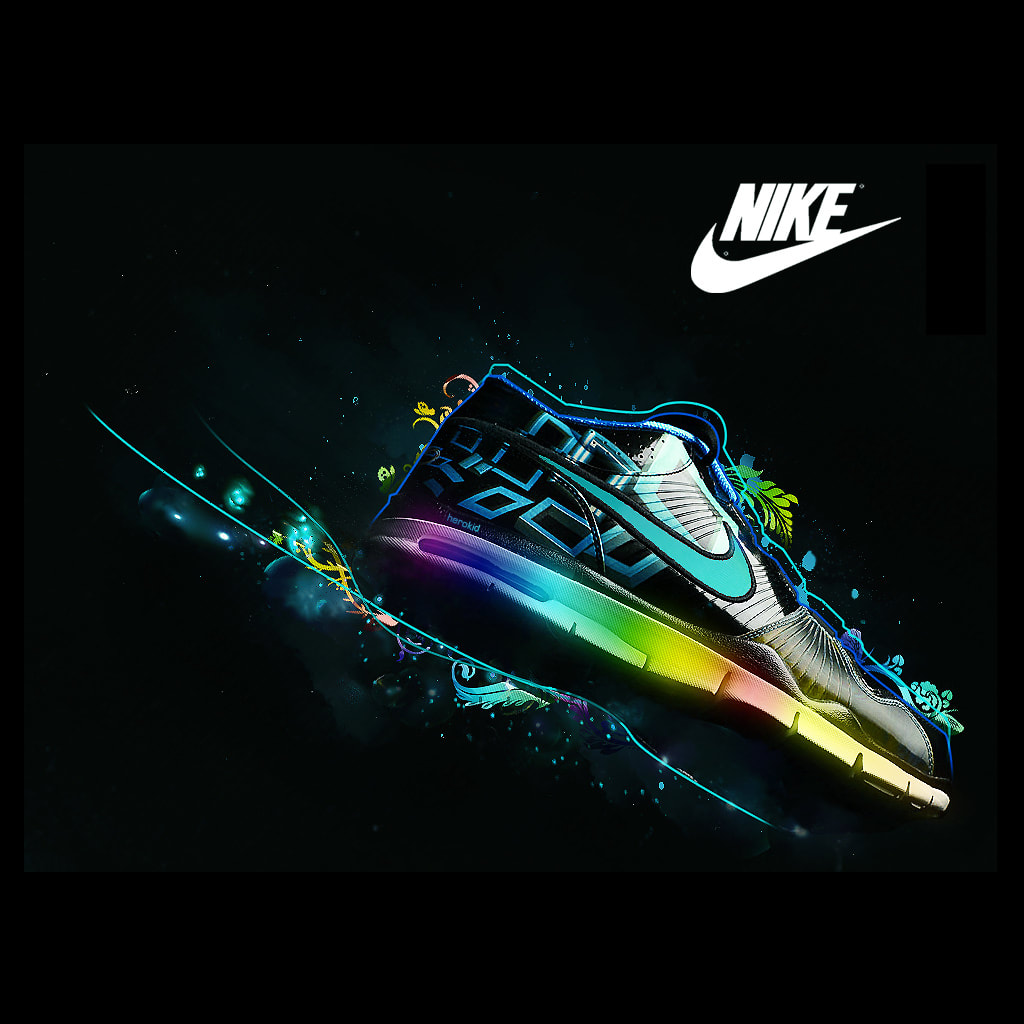
I chose this photo because I loved it! It has that space feeling and uses rainbow colouring. This inspired me because I love anything with rainbow colours and second, Nike is a popular brand so most Nike fans would be inspired as well. I think the designer used different tools to make the rainbow colours blend and to make the shoe look like its flying through space on a rainbow.
|
|
|
I chose this shoe because I liked the choice of colours, it made it look like the shoe was popping out. This inspired me because I like the text and font, also the choice of colours. The techniques I think the designer used were an original photo of an angled shoe, got ride of the original background, then replaced the background with different colours with a glowing effect, then added the text on top of the shoe, along with the Nike logo.
|
Shoe Ad
Original |
Final Product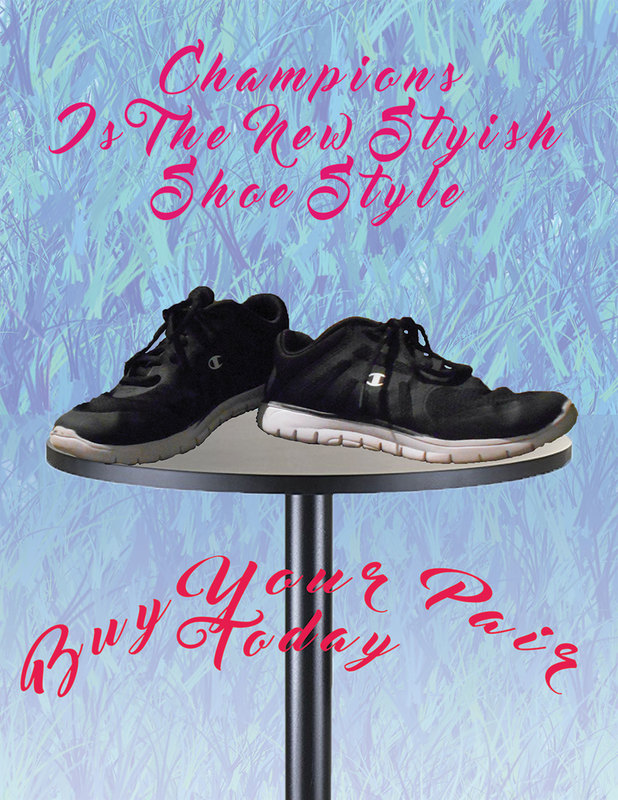
|
To create this ad I used Photoshop. The first thing I did was made a gradient mint green background, then on another project I got the shoes without the background and the shadows. Next I put the shoes on the mint green background. Then I wrote the text using a font that was swirly but readable. Next class I decided to change the background, I was just playing around with 2 colours and the grass brush on the bottom then I noticed the colours it made and I realized I would like that for the background instead of a gradient mint green. Then I tried different fonts but none were that good, so I went with my original choice. The next day I added in a transparent kinda, light purple/blue gradient for a horizon line. I also added a table in (which I had to get rid of the background) and put the table in. Next I placed the shoes on the table to make it look like they were sitting on a table and not just floating. Finally I decided to arc my font on the bottom going up, and a light arc going down for the top.
The 3 ads that inspired me changed during the process, I didn't really want to use rainbow anymore, but more of cool colours (blue, green,purple). Also I didn't want to do a dark background, I wanted it to be lighter. In conclusion this is what I did to make my ad look like an ad, and my inspiration that I got before the project.
The 3 ads that inspired me changed during the process, I didn't really want to use rainbow anymore, but more of cool colours (blue, green,purple). Also I didn't want to do a dark background, I wanted it to be lighter. In conclusion this is what I did to make my ad look like an ad, and my inspiration that I got before the project.
Pets, Multi-Image
|
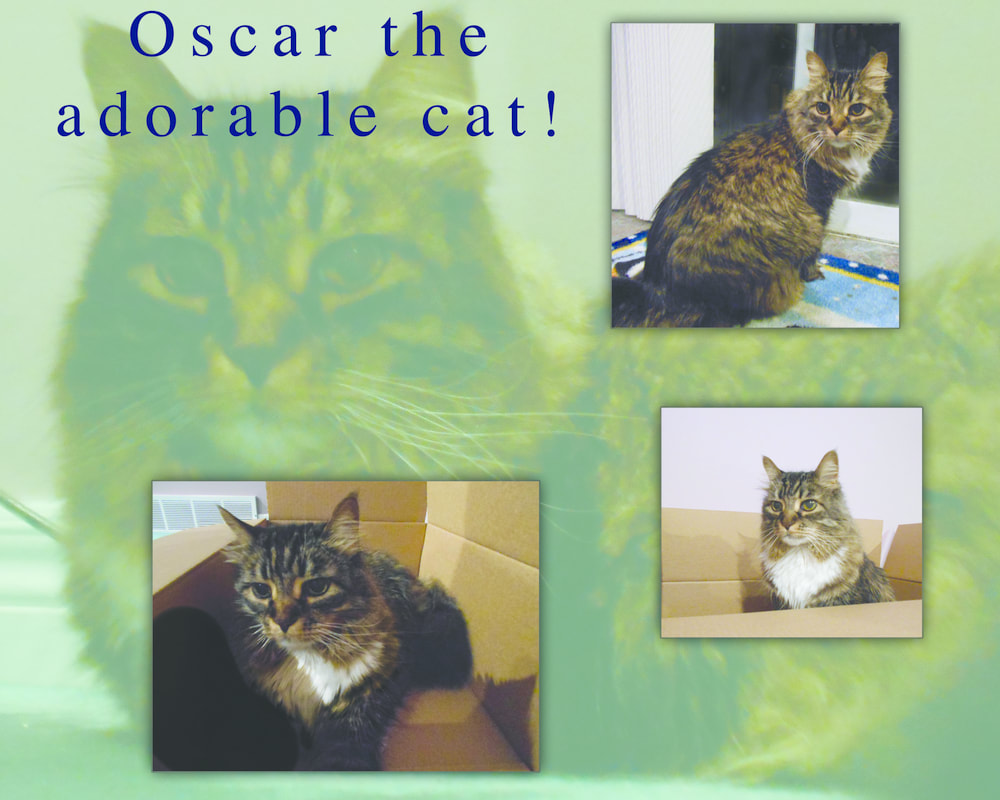
This multi-image photo is dedicated to my cat Oscar, he is 17 years old. The process started with Lightroom, I used white balance, crop, and dodge and burn tool. Then I transferred the 3 photos into photoshop and there I made them into their own work space, then I transferred them all into one. Then I chose another photo for the background which I did with a mint green using the soft light blend mode. Then I made all the other photos have a shadow effect with a 50% transparent border. In conclusion thats my multi-image of my cat, Oscar.
|
